EN
|
IT
Home
Spaces
About Us
Contact
Book Now
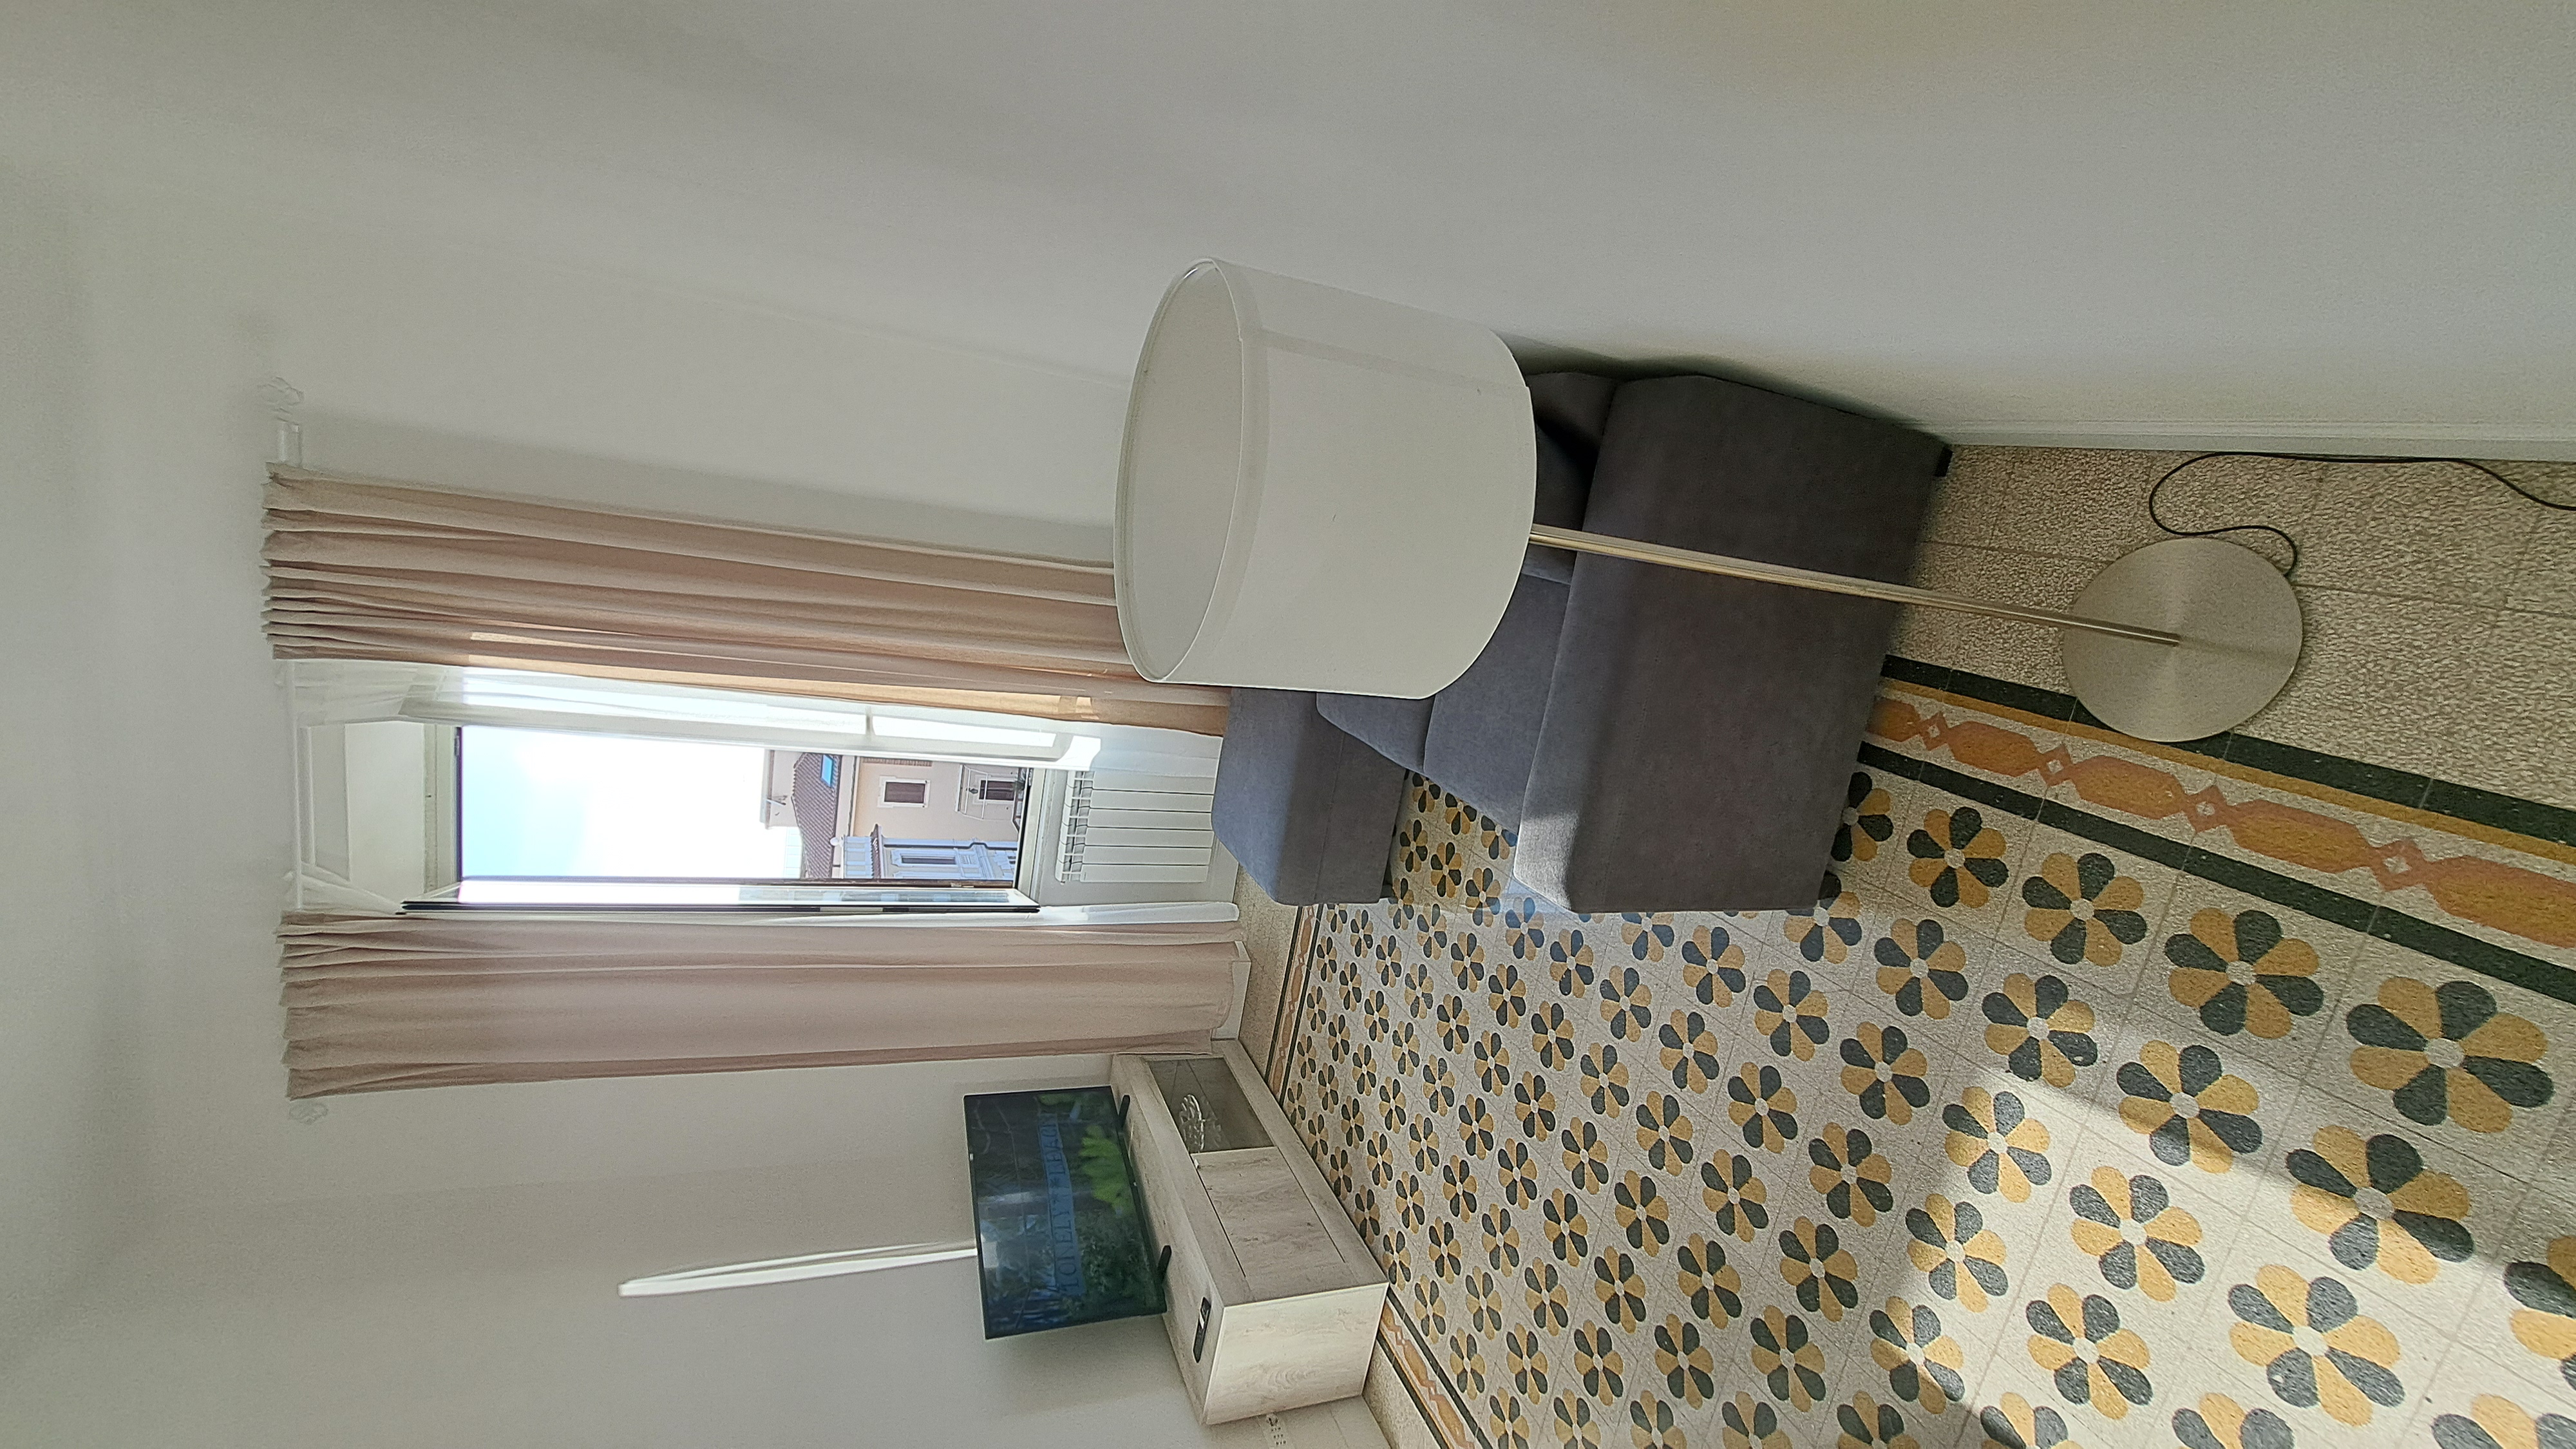
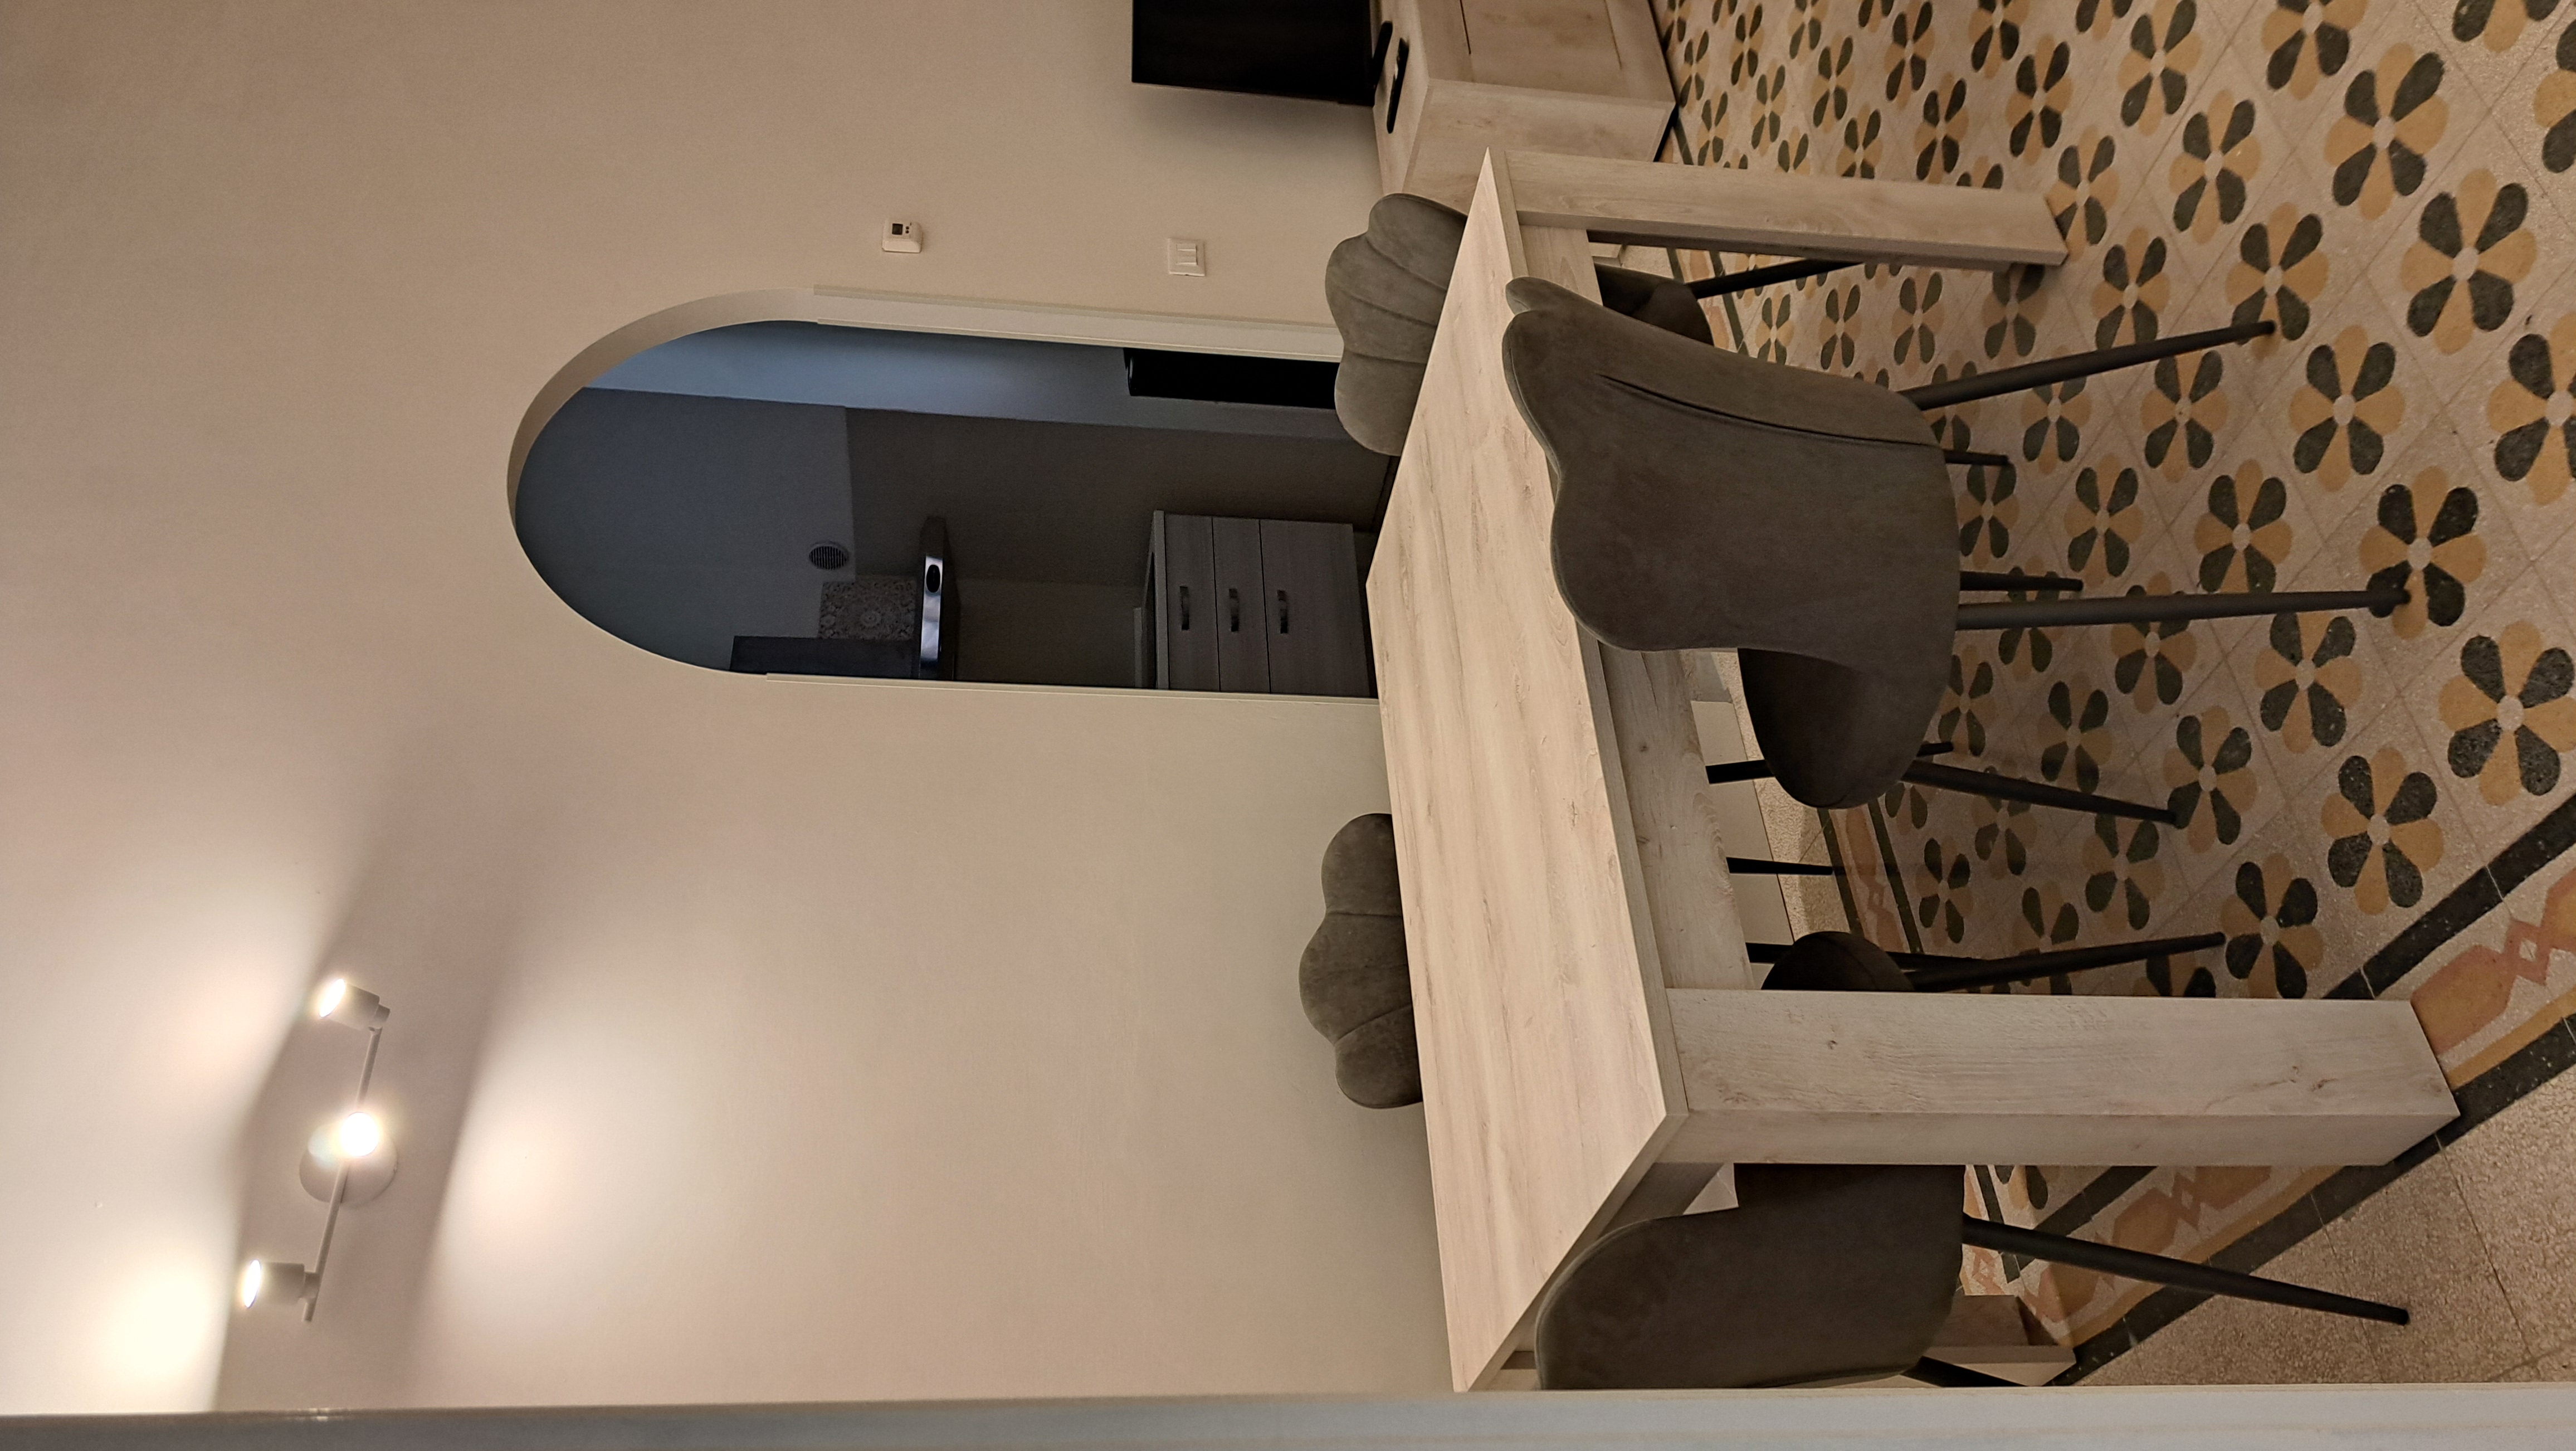
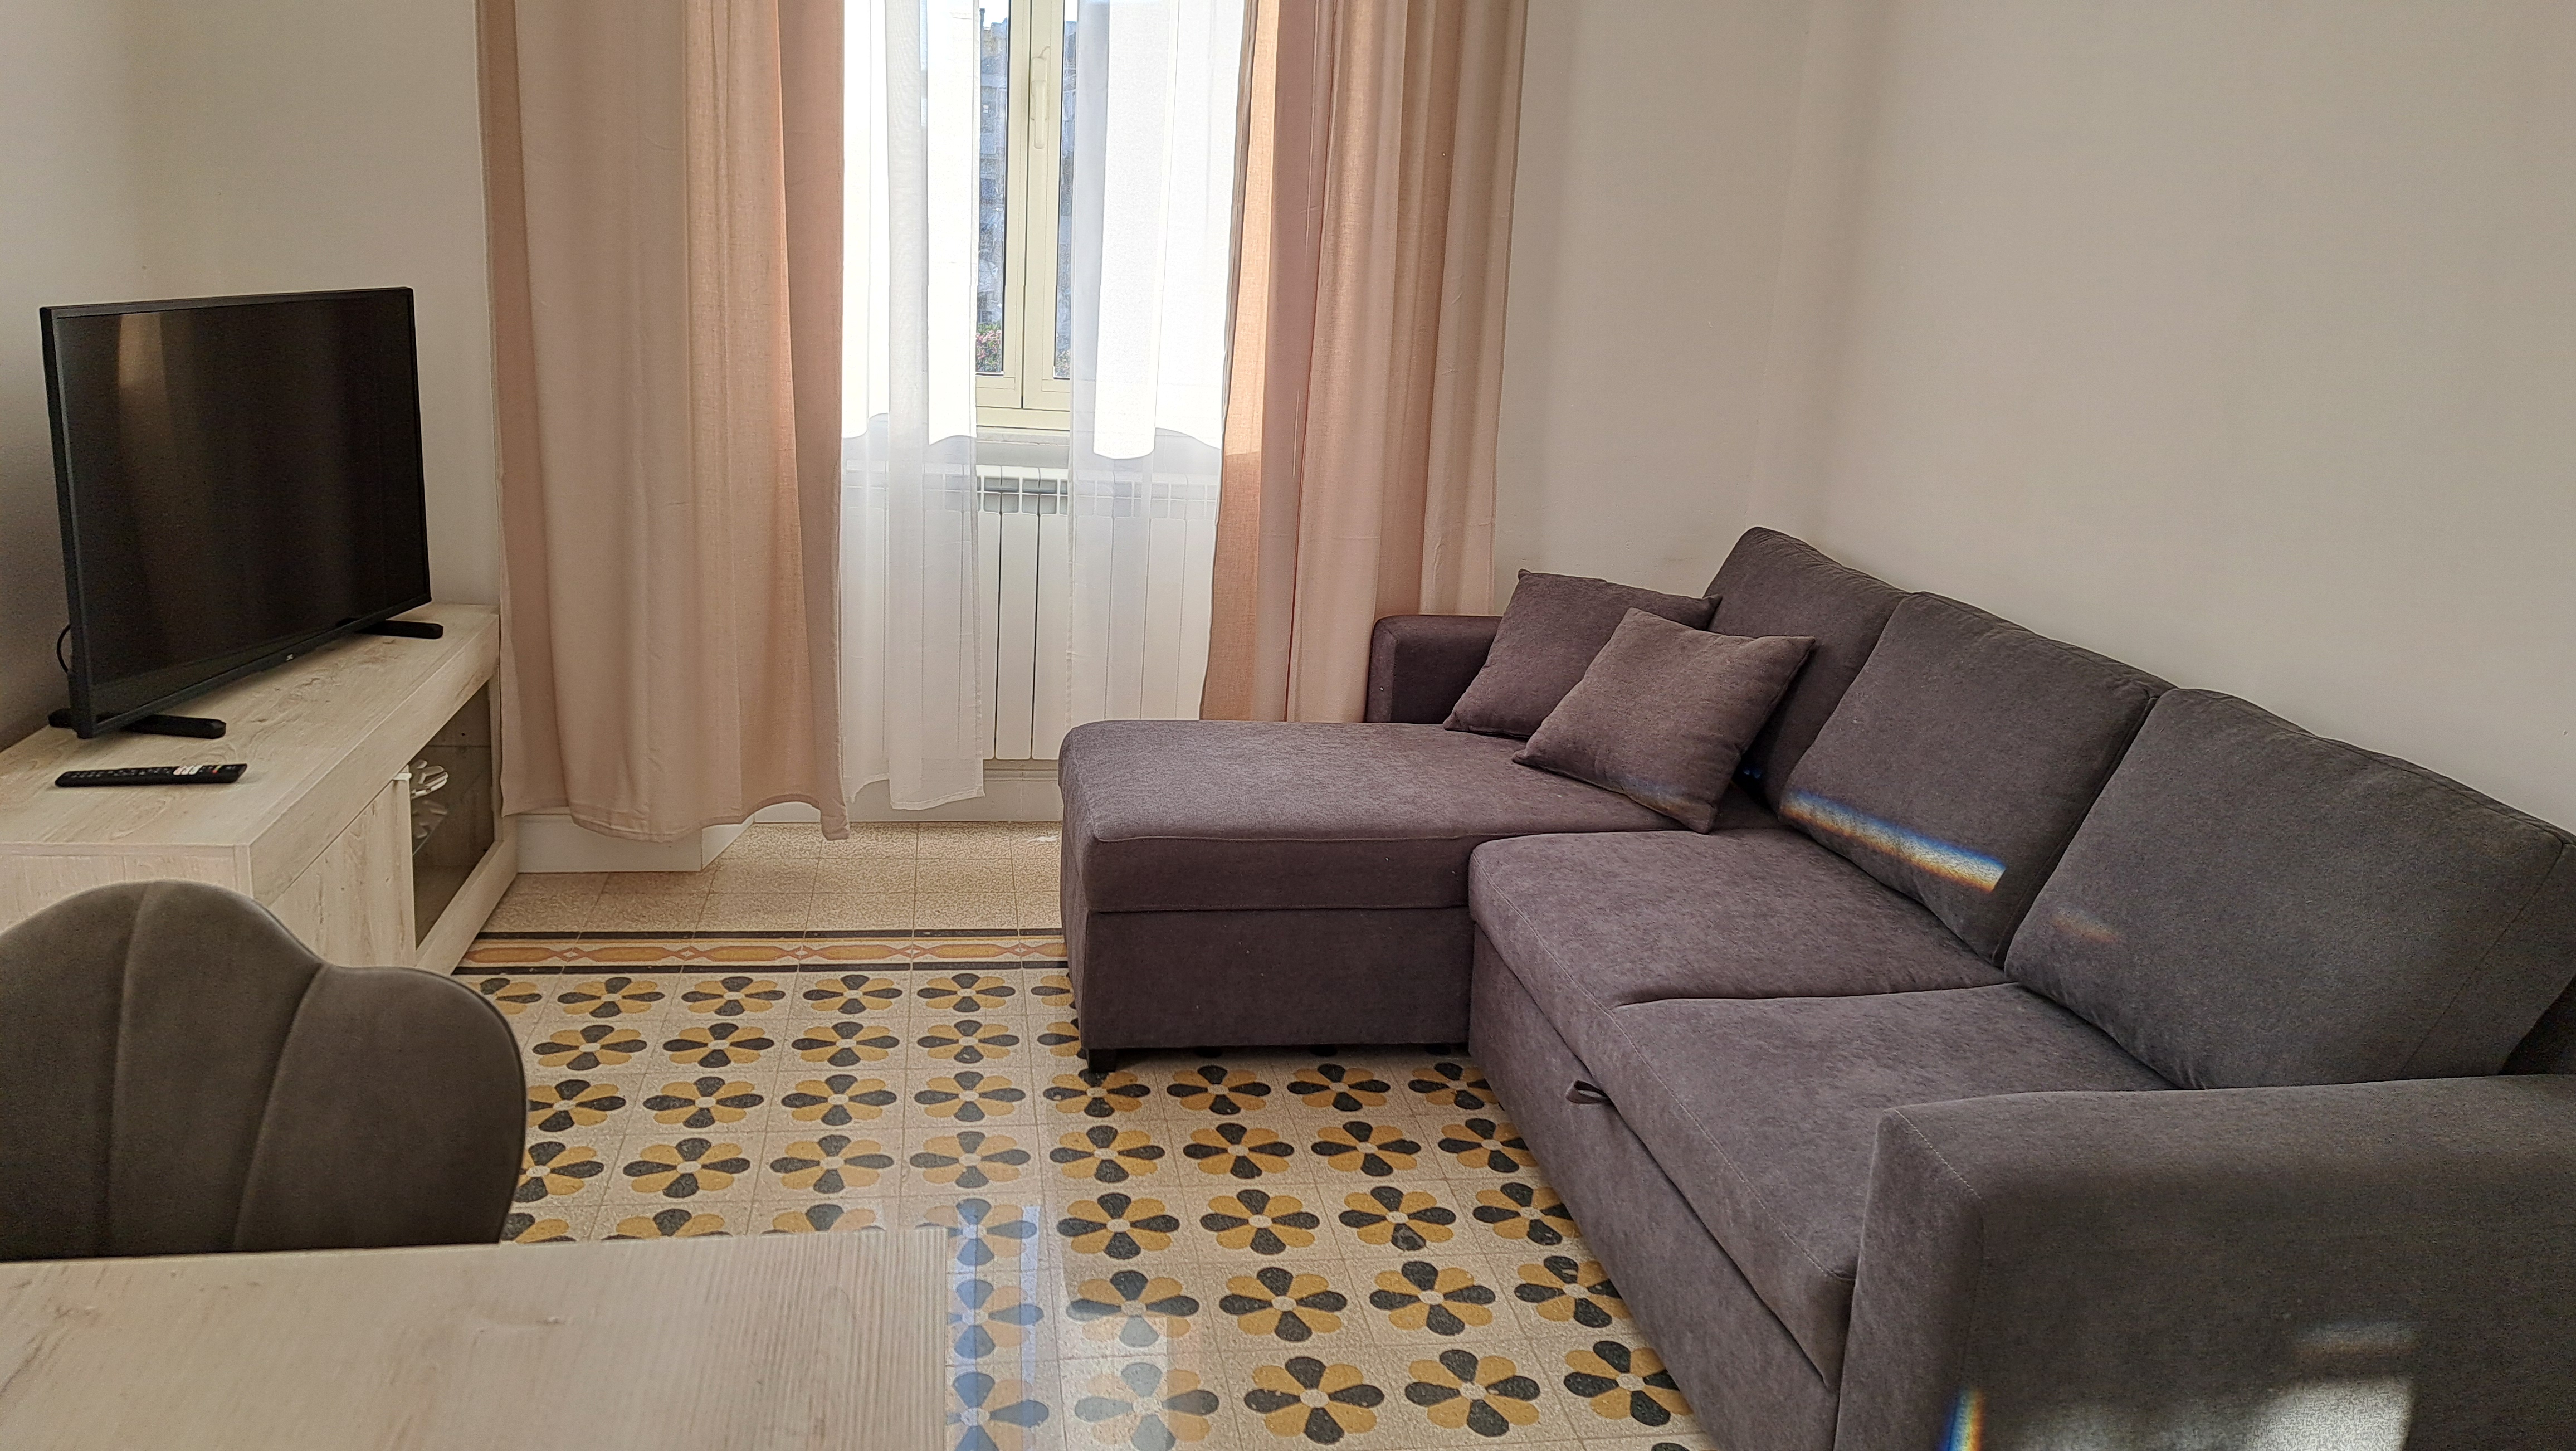
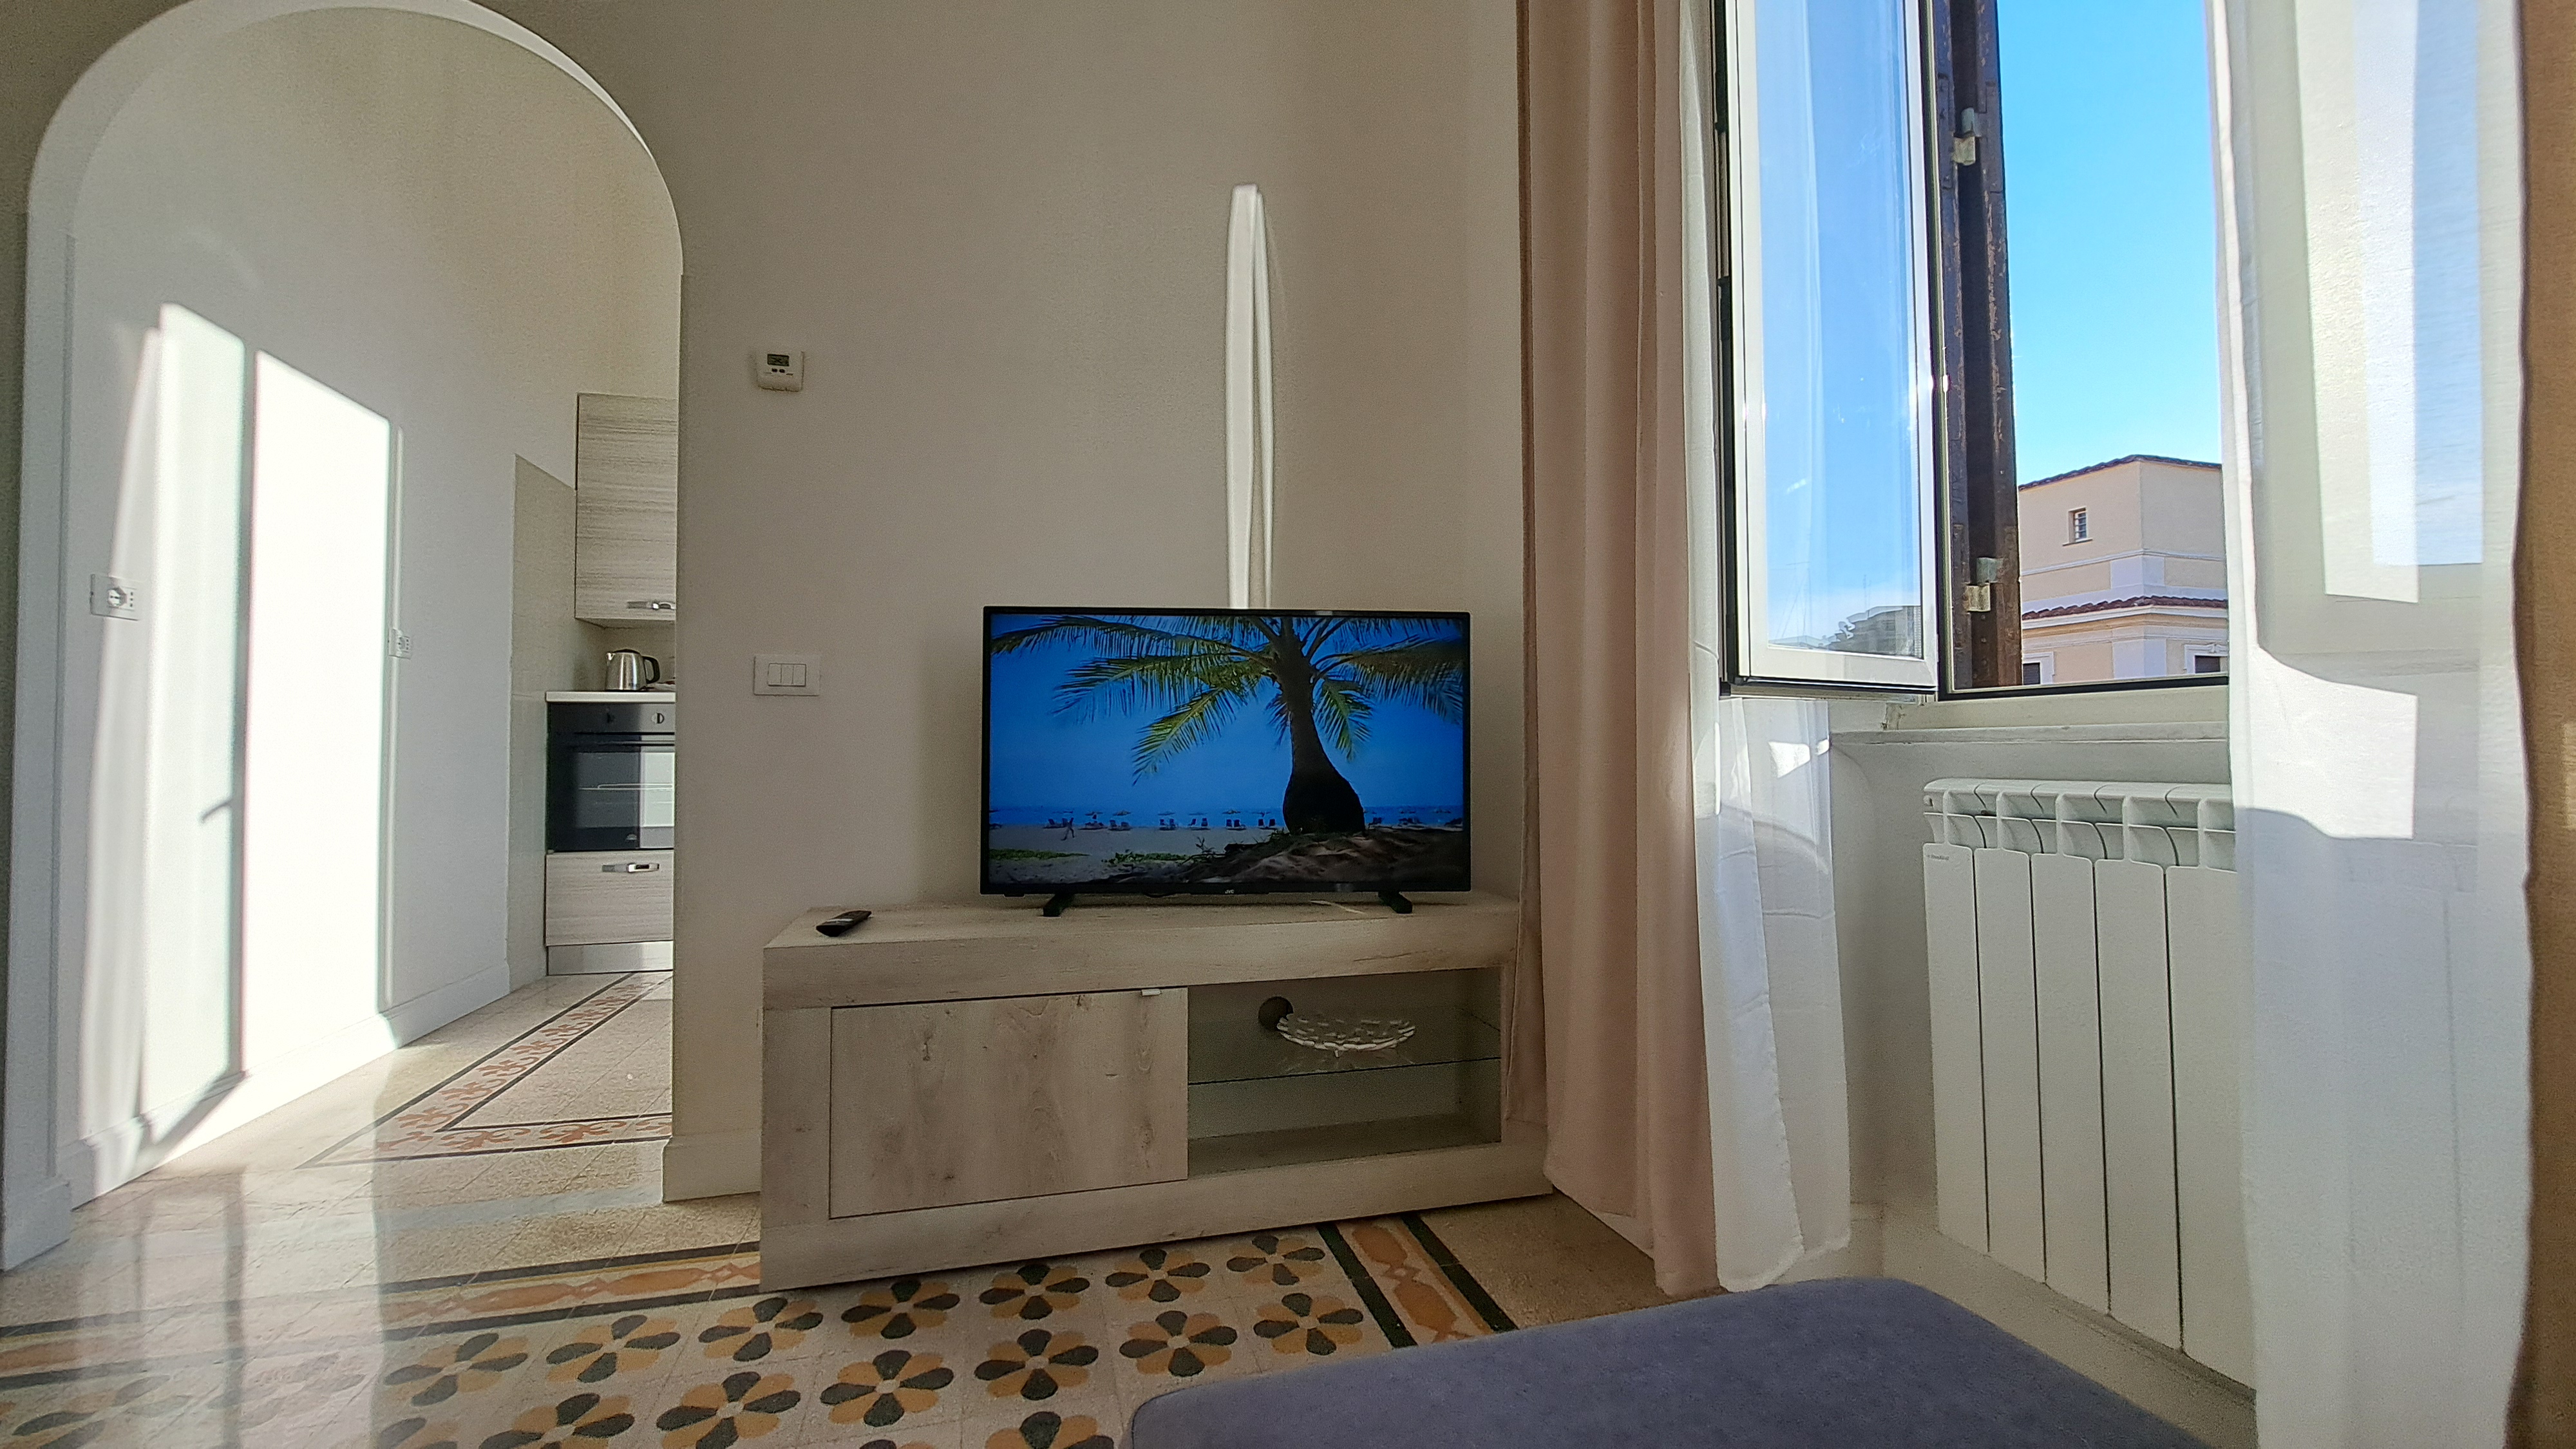
The Living Area
Explore the living area
×